
Well, I finally did it – I got my Murena back on the road after nearly 5 years!
I bought A258 LLN in July 2004 and had several fraught months with brakes seizing, a sticking throttle and a headlight system which dropped the lights when you used main beam to name but a few! I finally blew the engine resulting in a cylinder head with had as much ‘water jacket’ ability as a collinder!
I had a customer whose husband was owner of a F3 racing team, she (and he) assured me he would be able to swap the engine for me at reasonable cost – WRONG!
I looked for another engine without success and eventually settled on a Vauxhall C20XE engine from a Vectra GSI on the basis that it was better to keep the car ‘on the road’ than scrap her! All looked good but it proved to be a duff engine I had bought from ebay!
Next we tried a Ford V6 Duratec but this also proved impossible without major chassis modification so this was abandoned too. Its fair to say I was somewhat disheartened by now so didn’t do anything for almost 3 years!
Finally, I decided to get my car back from deepest, darkest Kent and to fit a Ford 2.0 Zetec-E (with much help from Tom, a good friend and owner of Shed Dwellers Customs) using a standard unit and gearbox purchased on ebay for £250! It came with the radiator (not used but will be kept in reserve), driveshafts and all ancilliaries
Engine as purchased on subframe!
Firstly we stripped the ‘new’ engine and removed the power steering pump, a/c compressor and a myriad of non essential pipes! Without the Power steering pump and a/c compressor we had to re-route the fan belt and fabricate a tensioning pulley. A shortened belt was obtained from a local car parts supplier. With the engine ‘out’ it was a good time to fit a new cambelt, clutch and slave cylinder. Thank goodness we checked – a spring on the pressure plate was broken and was slowly destroying the clutch!! All the parts not required will be sold on ebay soon!
ENGINE MOUNTS
Tom fabricated new engine mounts using as many of the original Ford parts as possible (modified where applicable). The lower front mount was mounted onto a fabricated section welded to the removeable crossmember and bolted to the bodyshell to allow easier engine removal if required.(see photo) The gearbox upper mount was bolted through the Murena body.(see photo) The lower being mounted to a fabricated Ford mount bolted through the trunk floor (again for easier engine removal). Finally the lower ‘engine end’ mount was fabricated using a Land Rover engine rubber bobbin mount to stop the engine tilting too much under load. This was attached to the original mounting points in the engine bay.
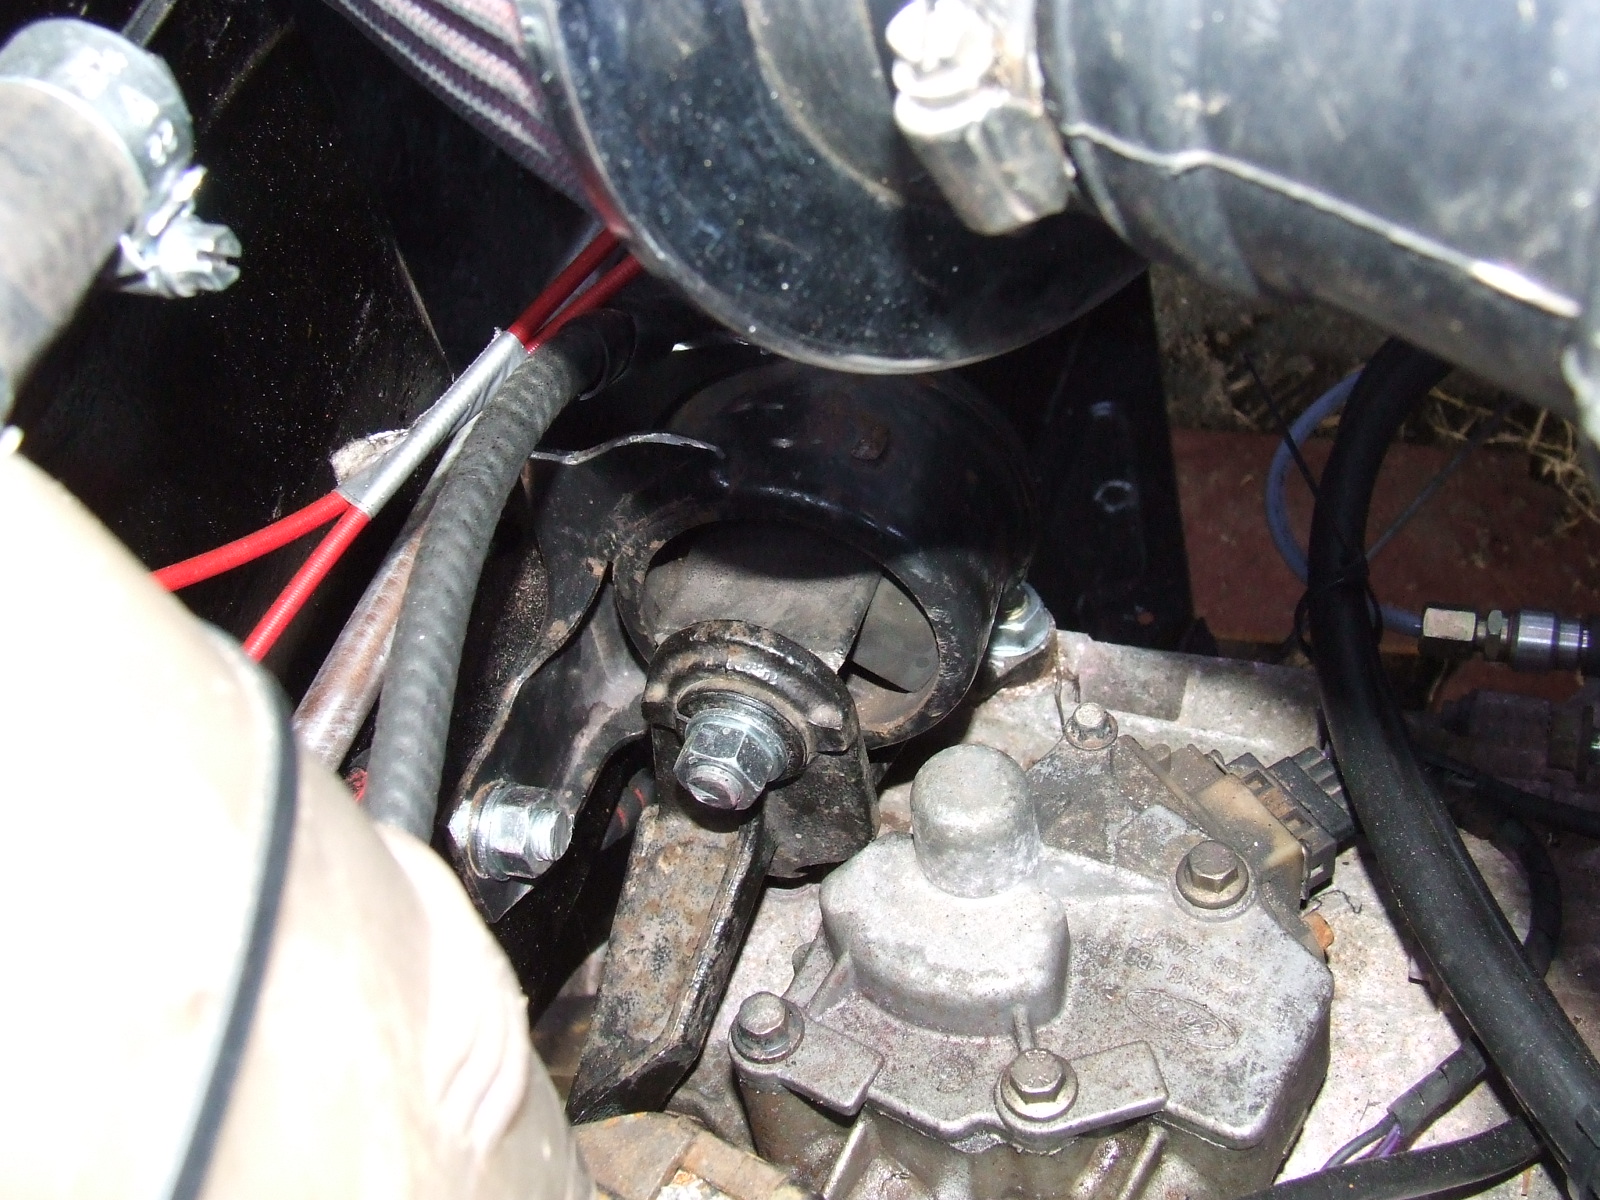
Left hand upper gearbox mount bolted through chassis rail
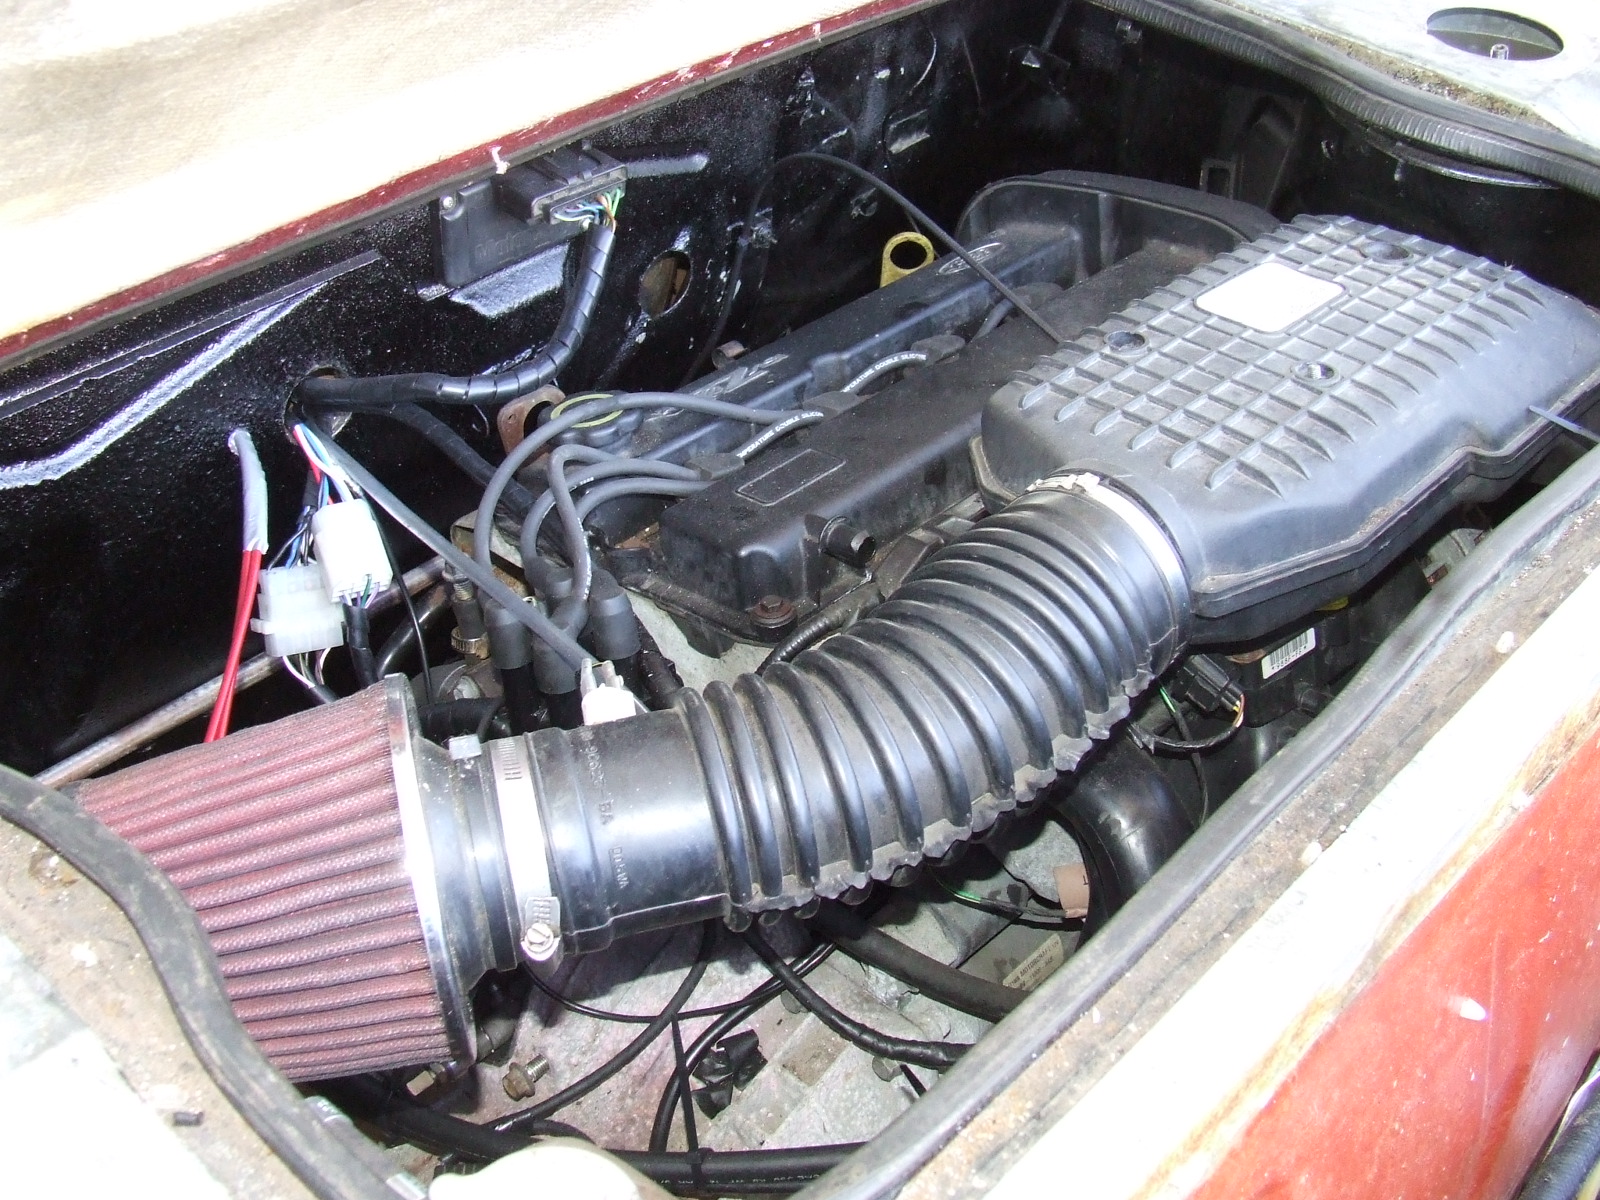
View into engine bay
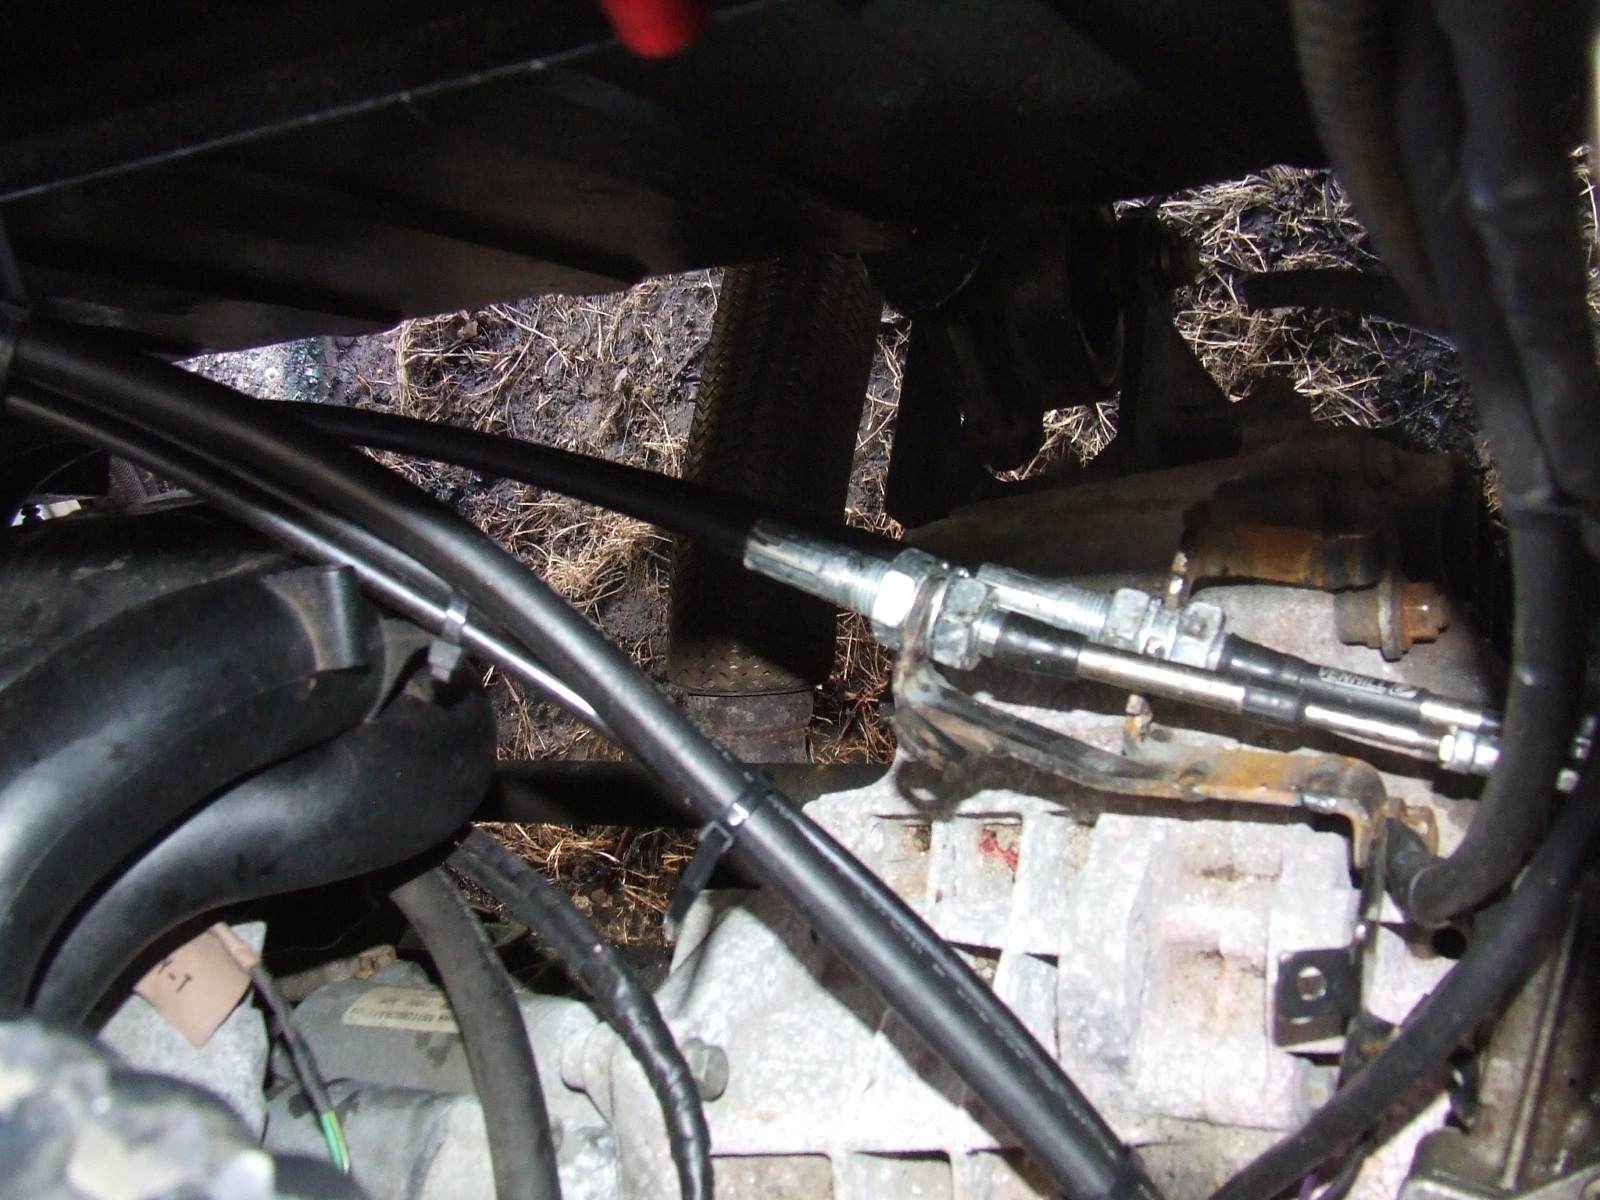
Initially we thought the Mondeo Mk2 driveshafts needed no modification because the splines happily slipped into the Murena and appeared to be the right length. However, we hadn’t allowed for the long travel of the Murena swingarms! The original Murena driveshafts are sprung at both ends – the Ford ones aren’t! We discovered that the Ford inner hub didn’t allow enough travel so after a lot of trials we decided to try the Murena outer Murena end and the Ford inner end which meant a ‘cut and shut’ version the original and Ford shafts welded together to the correct length. (see photos). The suspension was lowered 35mm to keep the driveshaft line as straight as possible. Sorted!!

The
‘Long’ right driveshaft
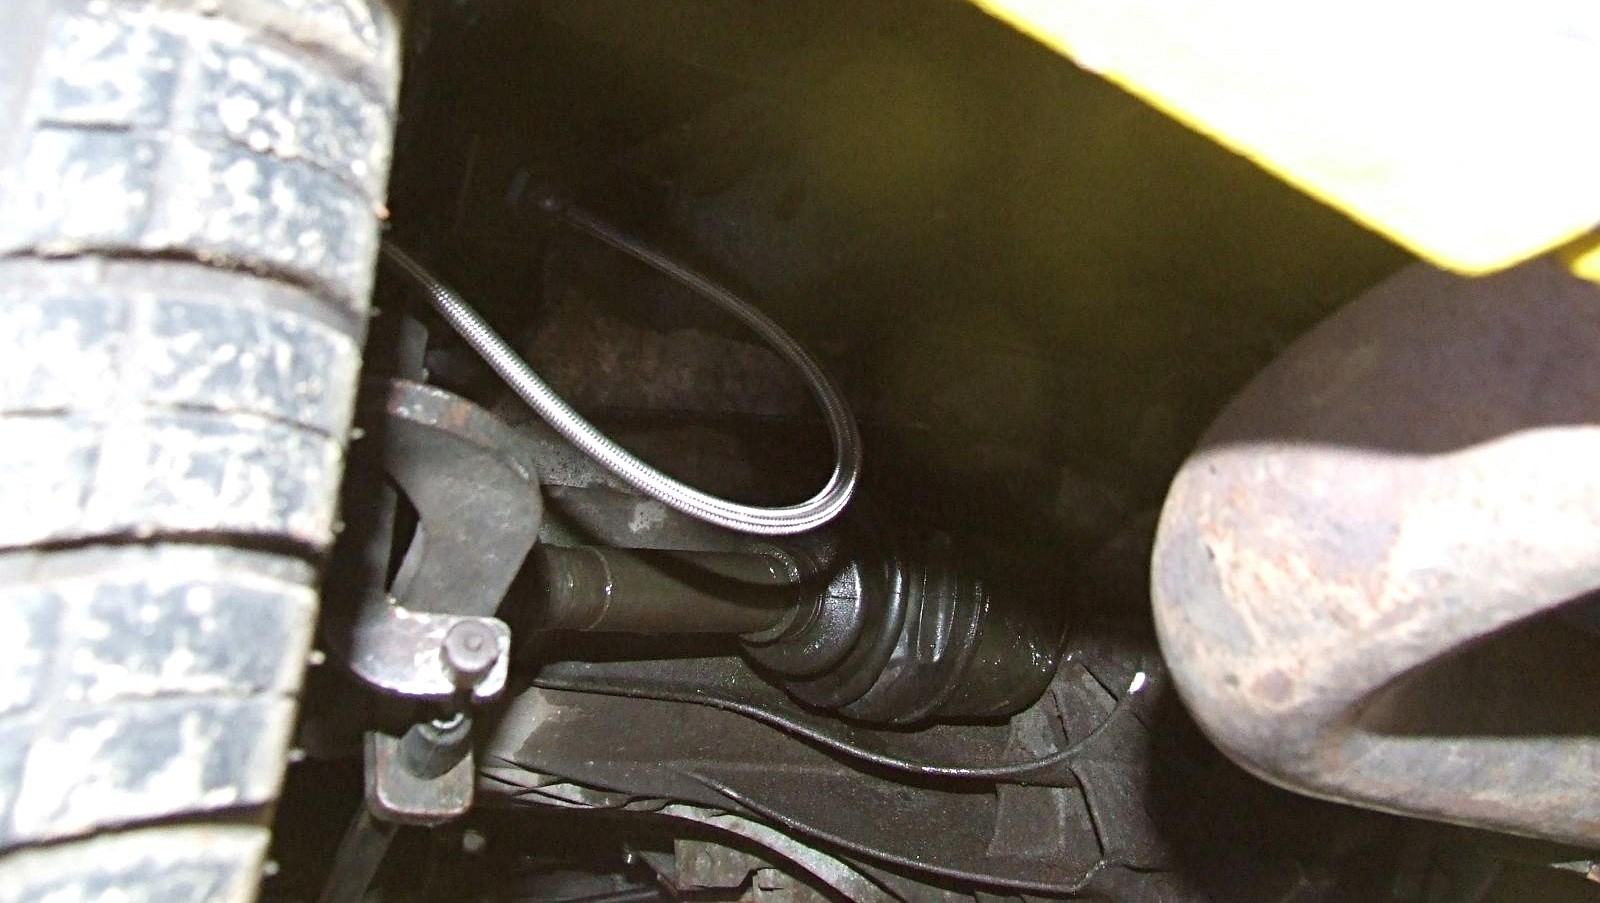
The
‘short’ lefthand driveshaft
FUELLING AND IGNITION
The original Ford ECU cannot be used because it has a built in immobiliser so a Megasquirt 1 V3.0 was used to control the ignition and fuelling. This unit can be used for any engine with relevant maps downloaded from the internet and can be fine tuned to use standard injection, throttlebodies or carbs.
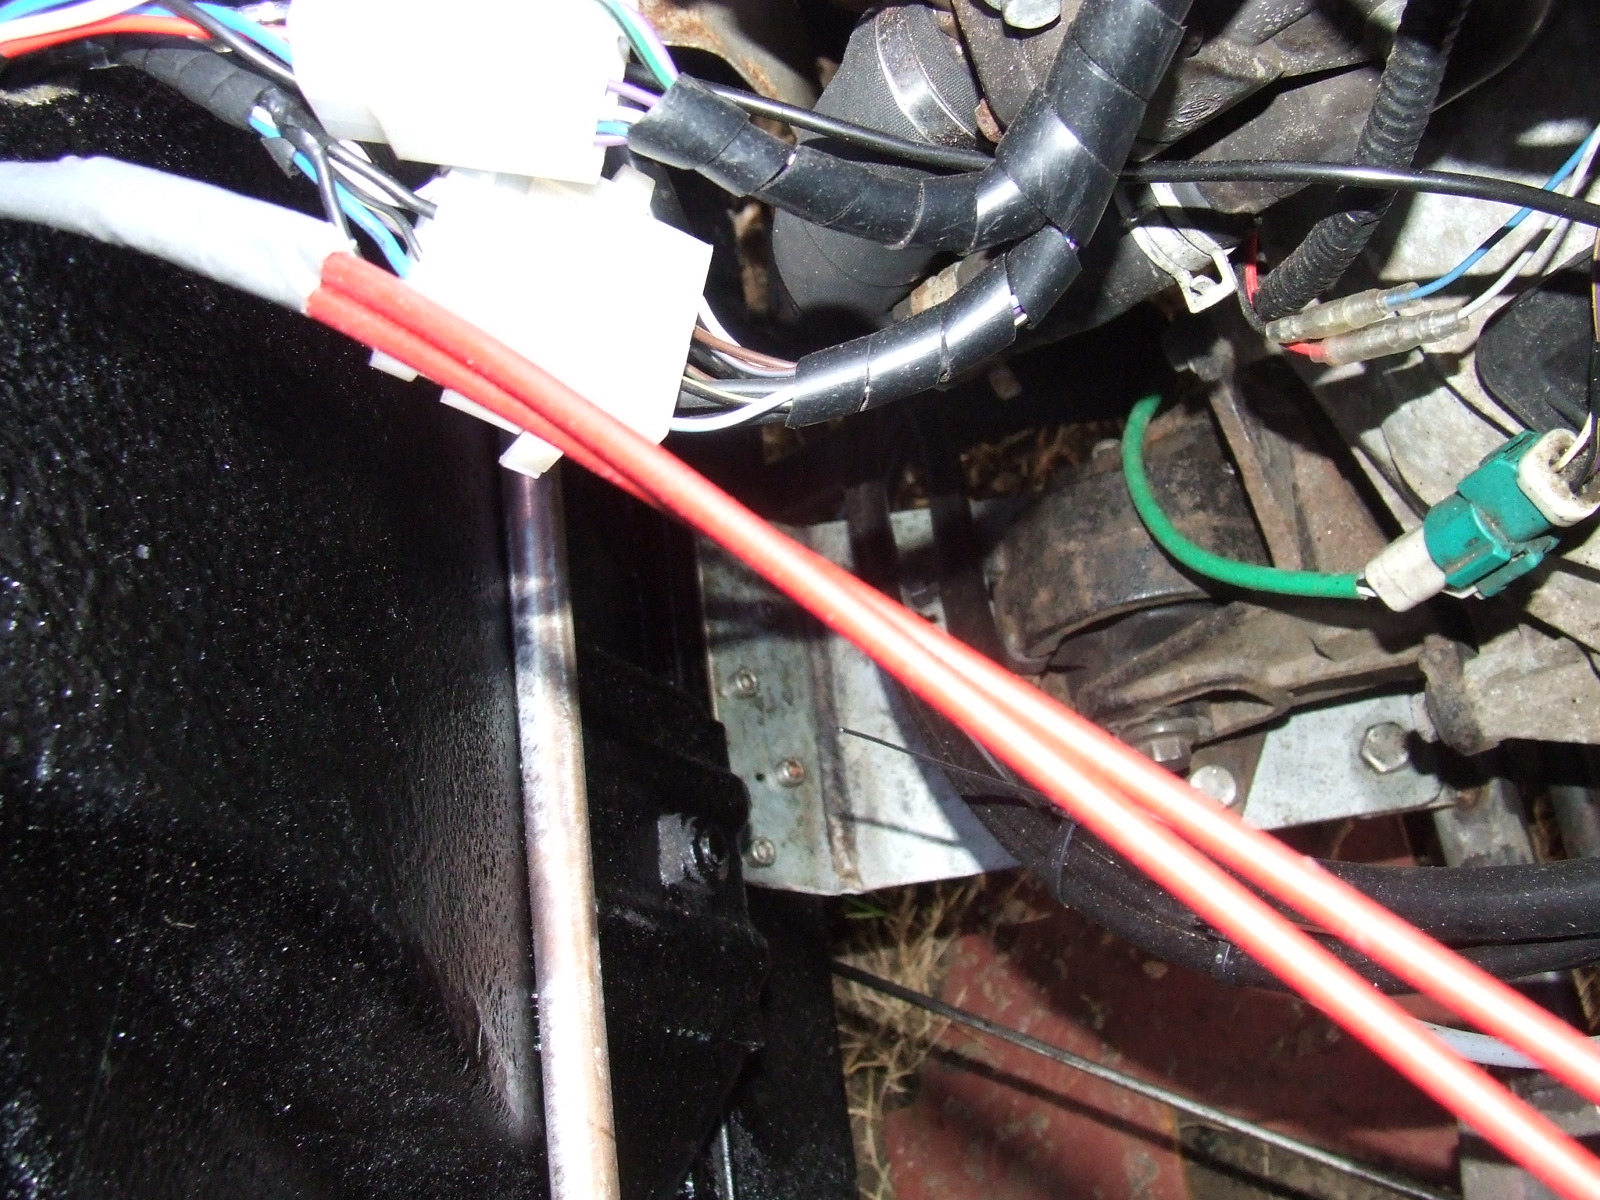
The Zetec engine is a tight fit in the Murena engine bay so we had to remove the fuel tank and fabricate a new one to go in the front compartment. We used the Mondeo fuel pump on a fabricated mounting.(See photos). Because I don’t usually drive my cars until the engine is thoroughly warm I decided to plumb the heater into the main coolant pipes at the front and use a tap to turn off the matrix in the summer. The original heater pipes which run under the car were used to feed the fuel pipes from the fuel tank to engine bay to protect them from damage.
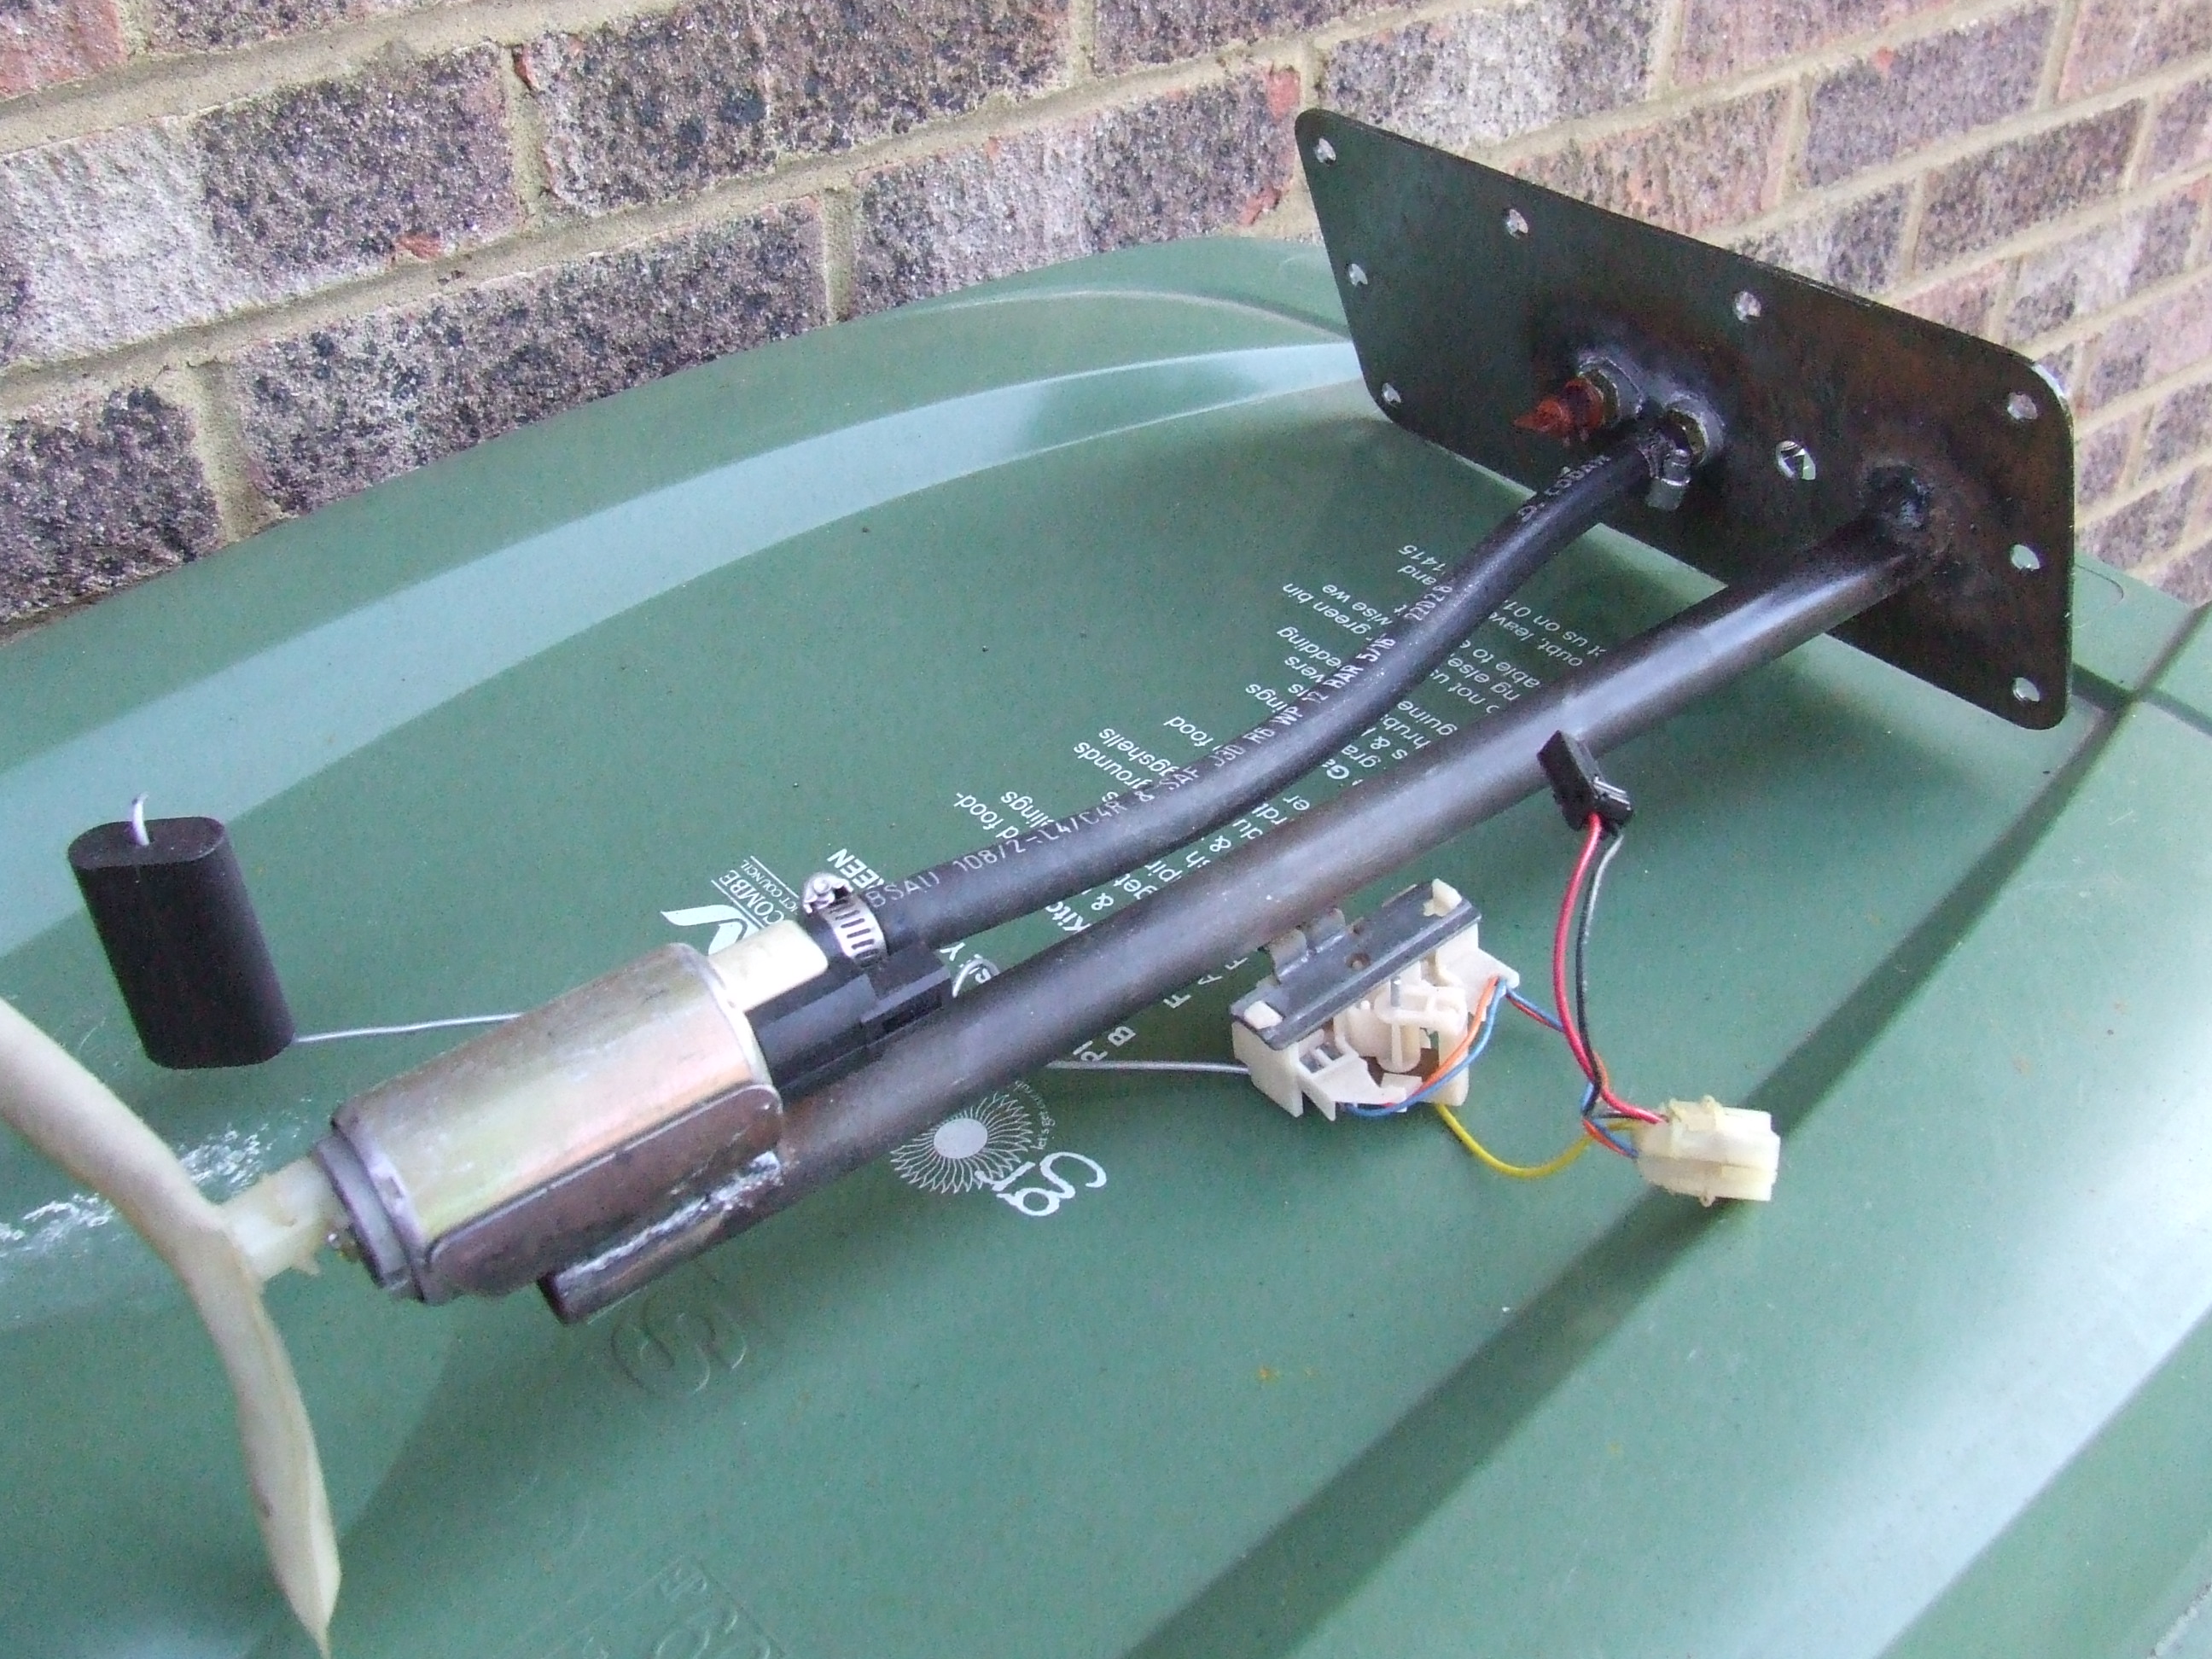
Fuel pump and sender
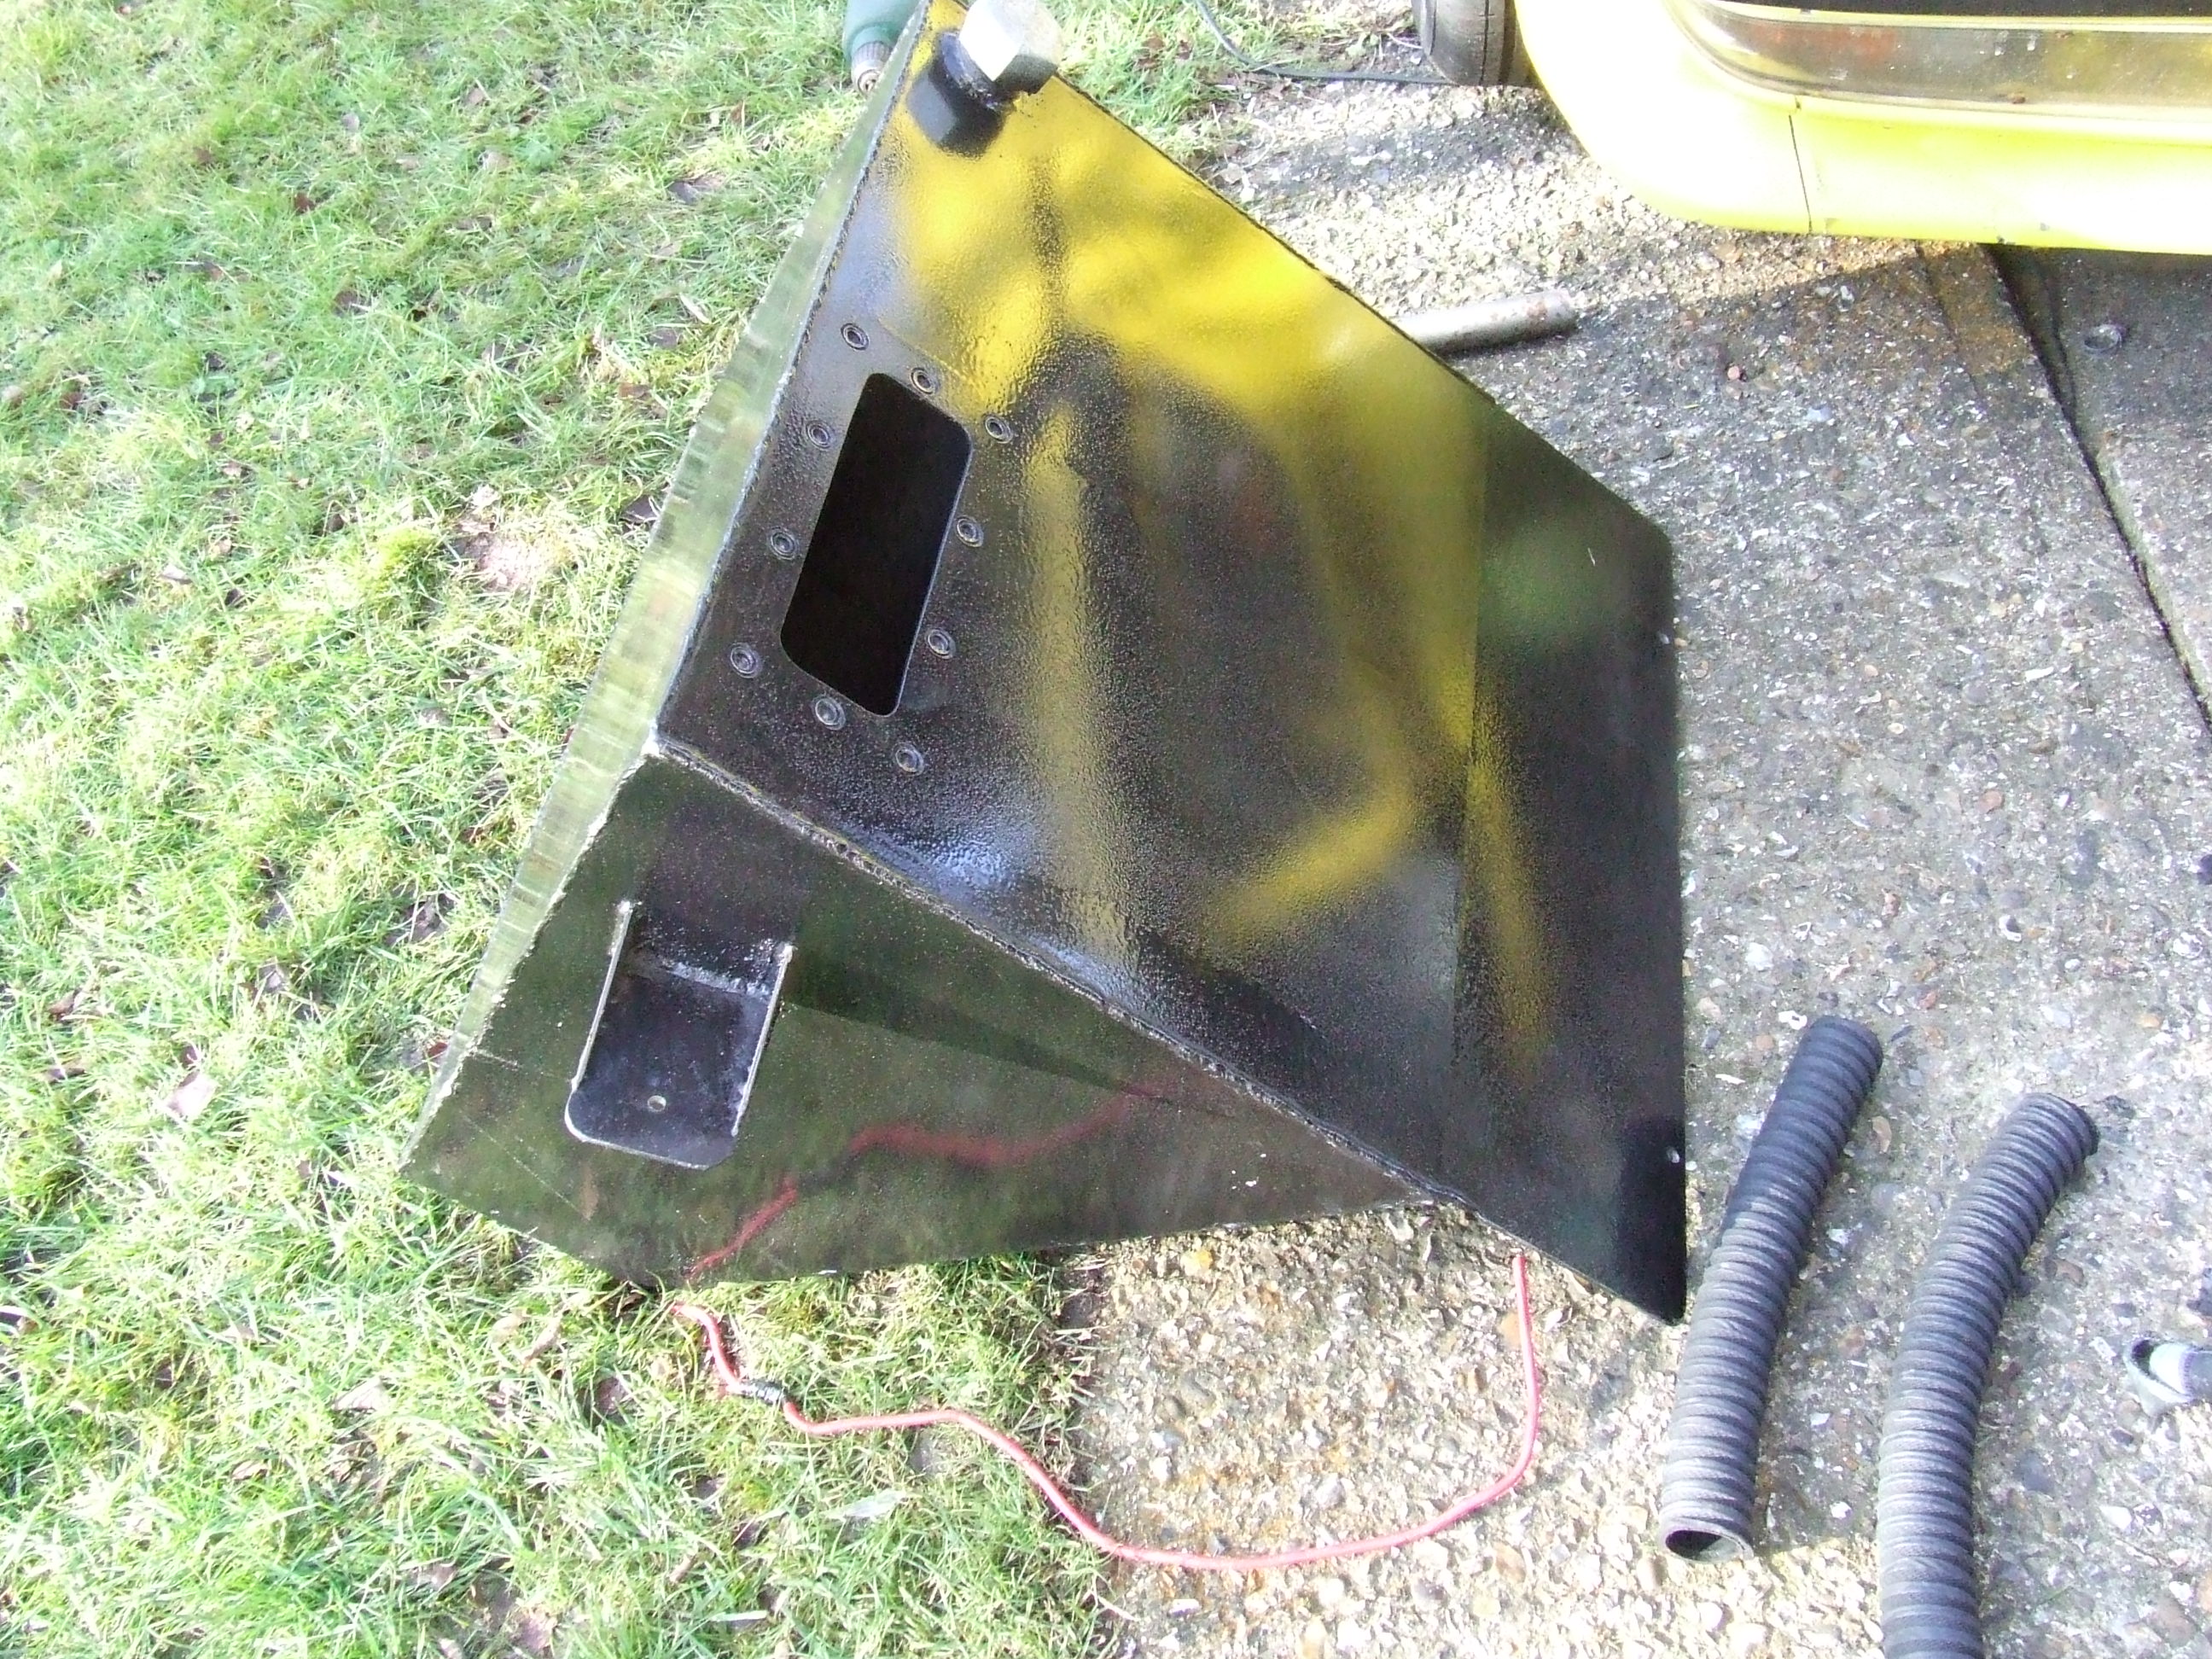
Fuel tank
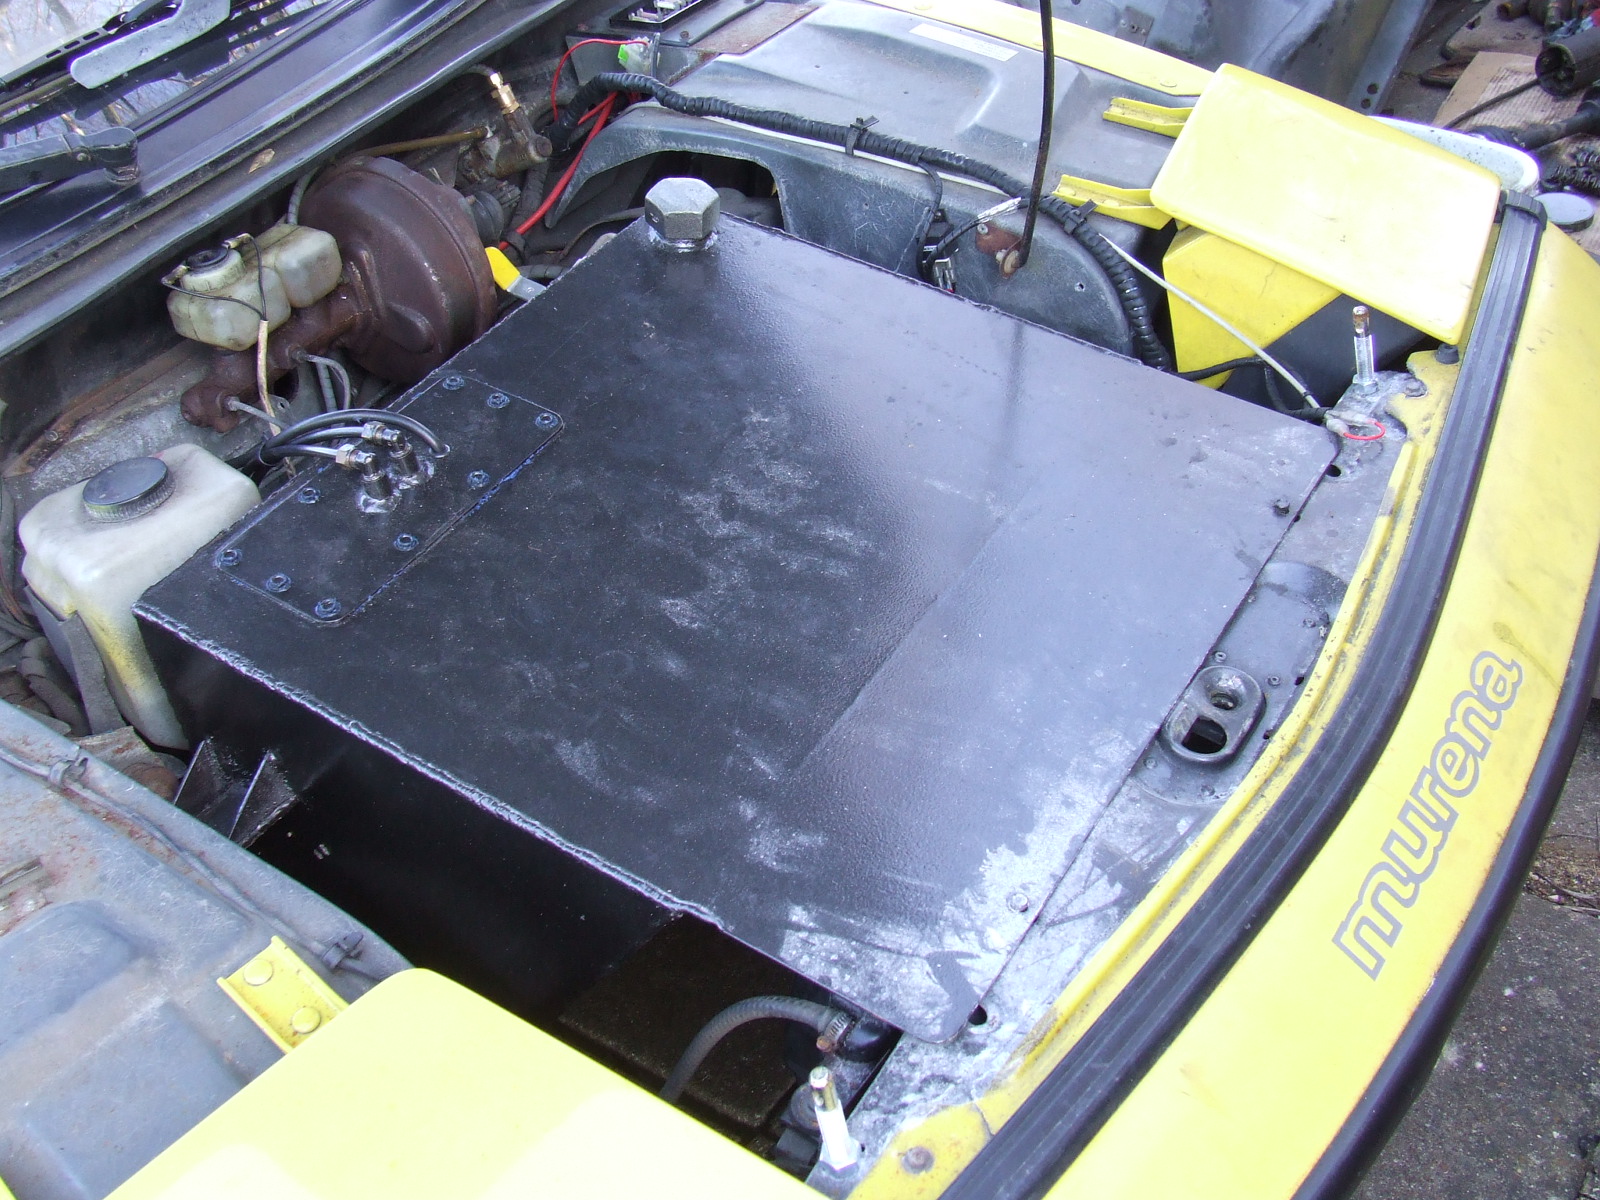
Fitted in car
HEADLIGHTS
Because I had problems with the vacuum system before the swap I decided to use a motor to raise the lights – a Porsche 924 unit (see photo) did the trick beautifully and now the main light units rise with the sidelights on. Please note – It is not possible to use an electrical feed from the headlamps dip beam – the lights will drop down as soon as high beam is used!

The Porsche headlamp motor
The entire wiring loom behind the dash was junked and rewired because (with age and previous owner messing) it was falling apart! I had the rather tired original interior refreshed with a leather retrim and built a new centre console with Racetech instruments.
I used the Mondeo gearlever unit using 3m long cables. This involves cutting a hole in the floor for the fabricated gearchange to pass through. A new throttle cable was fitted.
Having lost my last Murena to a fire I have plumbed in a fire extinguisher system and fitted a battery isolator switch where the original fuel filler was! There are also toggle switches in the cabin to actuate the fire extinguisher system and battery isolator.