That does not look particulary good, when you fit the new/reground cam you will need to fit either new followers or get the existing ones refaced(if they are in good enough condition). I would also check that valve and spring assembly to make sure that there is no undue stiffness or sticking to cause that amount of wear also do not be surprised if there is not enough of that cam lobe left to allow a regrind.
Good Luck
John

|
| | Home | | Blogs | | Help | | Search | | Login | | Register | |
| Pages: 1 ... 3 4 [5] 6 7 ... 10 |
|
41
on: March 20, 2025, 01:54:20 pm
|
||
| Started by philping - Last post by JL | ||
|
42
on: March 18, 2025, 02:20:46 pm
|
||
| Started by philping - Last post by Henk | ||
|
I've send the cam to the machineshop last week for regrinding it to the Holbay specs. I noticed one of the camlobes is badly worn, as is clearly shown in the picture. Only one, the others are fine. How is that possibl.... So not a moment to soon. I expect the cam back in a few weeks. Before it's back I will clean the engine and prepare everything so I can fit the faster camshaft quickly.
|
||
|
43
on: March 18, 2025, 09:02:36 am
|
||
| Started by MatraCroatia - Last post by roy4matra | ||
|
Every time I see a picture of a Matra with the reg plate I check if the car is knowed and it gives me the date of the last MOT. For example for the Rancho, 42 have a good MOT at this date and 92 have an old MOT before the year 2000, so this ones are not counted. For the Bagheera I know 247 reg plates, I will check again how many are knowed with a good MOT ar SORN. If these Bagheera and Rancho figures are meant to be for cars in the U.K. then I'm afraid you are not talking about reality! There are only ten (yes 10) Bagheera actually on the road, and currently only 2 Rancho on the road with 8 SORN! Our DVLA doesn't have the right information for these rare cars, because of the way the computer was set up, and I can give you lots of examples, but I have been over and over this subject many times, as well as speaking to people from DVLA and they know they have multiple faults when it comes to all rare cars and small manufacturers, but it would cost too much and take too much time to put it right, so they have no intention of changing things. Sure, I know of possibly more than 250 Bagheera that have been here in the U.K. in the past, but most have rotted away, been scrapped, have been sold abroad, or are just lying somewhere yet to be found but rotting away like many old abandoned cars. The reality is there are only a handful of Bagheera and a few Rancho left. Even the Murena with its galvanised chassis number only around 50 fit for the road. If you want to send me that list of 42 Rancho with good M.o.T. I will double check them myself, but I seriously doubt they are all truly fit for the road. The DVLA had 42 Rancho listed back in the year 2000, 25 years ago, but never as many since! Roy |
||
|
44
on: March 17, 2025, 12:02:29 pm
|
||
| Started by MatraCroatia - Last post by Dokkedal | ||
|
Every time I see a picture of a Matra with the reg plate I check if the car is knowed and it gives me the date of the last MOT.
For example for the Rancho, 42 have a good MOT at this date and 92 have an old MOT before the year 2000, so this ones are not counted. For the Bagheera I know 247 reg plates, I will check again how many are knowed with a good MOT ar SORN. |
||
|
45
on: March 11, 2025, 12:44:00 pm
|
||
| Started by roy4matra - Last post by roy4matra | ||
|
Apologies, this is a suspension topic, but the list of service information items was interesting: Item 56 in the 1981 section interests me. I get a lot of vibration noises from what sounds like the heater box, although mine is a 1983 car. The noises quieten down as the car and heater box warm up, but I would like to eliminate the noises if possible. They seem to come from inside the car, rather than the accessible part under the bonnet, where the heater fan is located. Can rattles be sorted out without removing the dashboard to access the heater box behind it? When I started this topic, it was to inform others about the different rear coil springs, which was not in the workshop manual but came from an update bulletin, and I did ask how I could get hold of a copy of all those bulletins, as I was interested to see what they covered. This information was duly given, thanks Alain, and that should have ended this particular posting topic. However, it has been 'hijacked' and strayed into other areas that should have been in a new topic! PLEASE, PLEASE, will posters not do this! It is easy to start a new topic. The problem with altering a topic is that it gets out of hand and someone reading the latest posting has no idea of the initial topic or reason for it. (I have amended the title to make it clearer) It has strayed into things like heater box noises, and altering the suspension with different springs, shock absorbers, and ride heights which are entirely different subjects, and altering the suspension is one which I do not agree with. As I've said before, who are any of us to think we know better than the experts at the factory who designed and developed the car originally? I myself don't, although I have made one small change to a 55 profile front tyre, after testing extensively, and with improved results have used and recommended them for many years, and there is a good reason and an explanation behind this, as detailed in my Tyres technical article, which can be downloaded from my website; or in an FAQ answer on wheels and tyres. There are comments here about using the standard front shock absorbers from a Talbot Horizon or other Talbot front engine, front wheel drive car on the Murena. Yet the Murena has very little weight at the front to need such strong springs or shock absorbers, so they cannot be right. I have driven a Murena with stiffer front shock absorbers that someone else had fitted, and it was certainly far worse than the original, which is exactly what I expected. Even a passenger in that car who knew little about this, commented how the car was worse than my own which he had been a passenger in many times and therefore knew how a good Murena should really ride and handle. Those shock absorbers were simply too stiff for the light front end of a Murena, and over bumps in the road, which we all suffer today with such poor road maintenance, means the tyres lose contact as the front bounces and therefore the grip is also worse whereas the softer front would mean the tyres would stay in contact with the road more. You only have to consider the old ideas of making a 'sports car suspension' harder than the equivalent saloon car, supposedly to make it handle better. Colin Chapman soon shot those ideas down with the Lotus Elite 14 and Elan which had softer suspension and out handled any car on the road at the time, and on a twisty road today can still see off most cars, especially when they only need 155 section tyres compared to the huge 225 section or more of many modern cars! But to get back to my main point, PLEASE stop hijacking a topic and using it for other topics which should be in a new posting. If what you want to say is not directly relevant to the wording in the original first posting, then start a new topic. Thank you. Roy |
||
|
46
on: March 10, 2025, 11:42:45 pm
|
||
| Started by roy4matra - Last post by Oetker | ||
|
Sorry for my late response.
Spax raer =G695 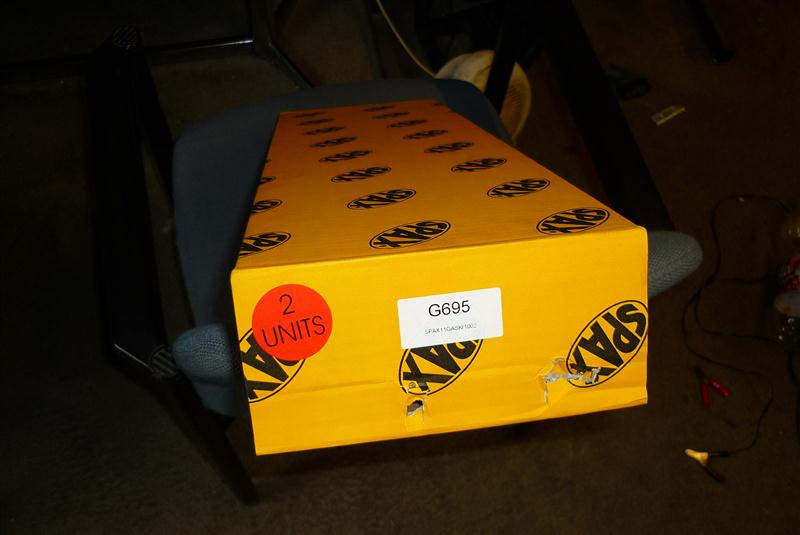 At the front I experimented with different shocks. Anything that is mounted at the front of Simca 1100 /Horizon/ Bagheers an d others wil do fine. I noticed almost no difftences. Mounted on my 1.6 =Koni made for Simca 1100. On my ex 2.2 was Monroe for Bagheera. 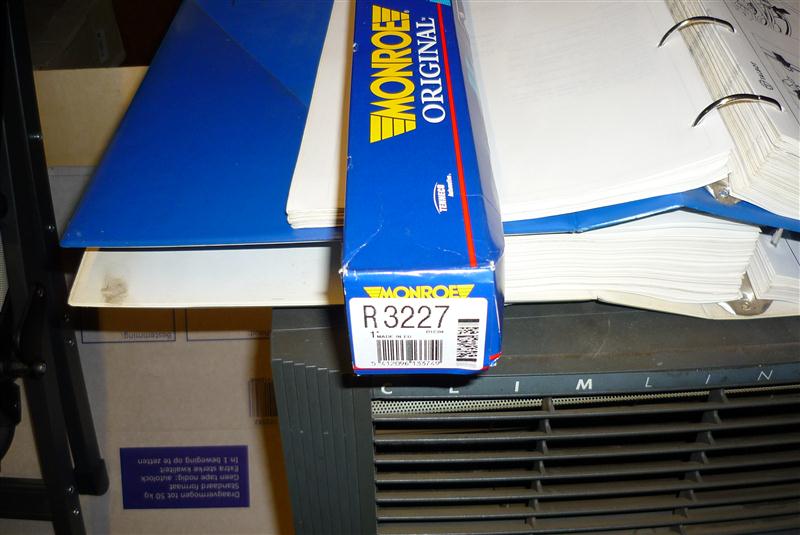   I also have a new pair of Gabriel for Horizon front reserve and I expect the to do the job |
||
|
47
on: March 10, 2025, 11:22:12 pm
|
||
| Started by Grapes - Last post by Oetker | ||
|
The plate you mis. Electronics don"t are not original.
Bolts that hold the fan |
||
|
48
on: February 19, 2025, 09:26:12 am
|
||
| Started by Grapes - Last post by Grapes | ||
|
Ah, to me it wasn't clear that it's fixed with rivets or not. This was the crucial part that was missing.
Thank you for clarifying! Yes I indeed plan to put something there. I've brushed it clean again for now. |
||
|
49
on: February 18, 2025, 11:15:20 pm
|
||
| Started by Grapes - Last post by roy4matra | ||
|
Anyone else who could shed some light on this? What more do you need? You've been told you need to remove the panel with the curved shape in the front compartment, and that is only fastened in with rivets, so it is obvious you have to drill them out to remove it. Those two bolts you have marked are nothing to do with the fixing of the panel. Don't undo them until after the panel is off. They only hold up the bracket holding the fan housing. Once the panel is off, you disconnect the wiring socket, then you remove the bolts to be able to remove the fan housing. Once it is out you can strip it to get at the motor. Yes, the panel that should overlap the motor panel is missing, and you can see it is letting all the muck thrown up by the wheel into the front compartment - I have never seen such a dirty interior. You need to replace that after fixing the fan motor. Roy |
||
|
50
on: February 15, 2025, 11:31:59 am
|
||
| Started by Grapes - Last post by Grapes | ||
|
Anyone else who could shed some light on this?
|
||
| Pages: 1 ... 3 4 [5] 6 7 ... 10 |
|
|